Create an Amazon AWS™ Account
Overview
This document provides the steps to create an Amazon Web Services™ (AWS) account. You can use this account to create backup storage for the Amazon S3™ destination or to launch instances of the cPanel & WHM AMI.
- For more information about backups to an Amazon S3 destination, read our Backup Configuration documentation.
- For more information about cPanel & WHM Amazon Machine Image (AMI) instances, read our Launch an AWS AMI Instance documentation.
- For video tutorials about this process, view the cPanel and Amazon AWS playlist on our YouTube channel.
Create an AWS account
Navigate to AWS
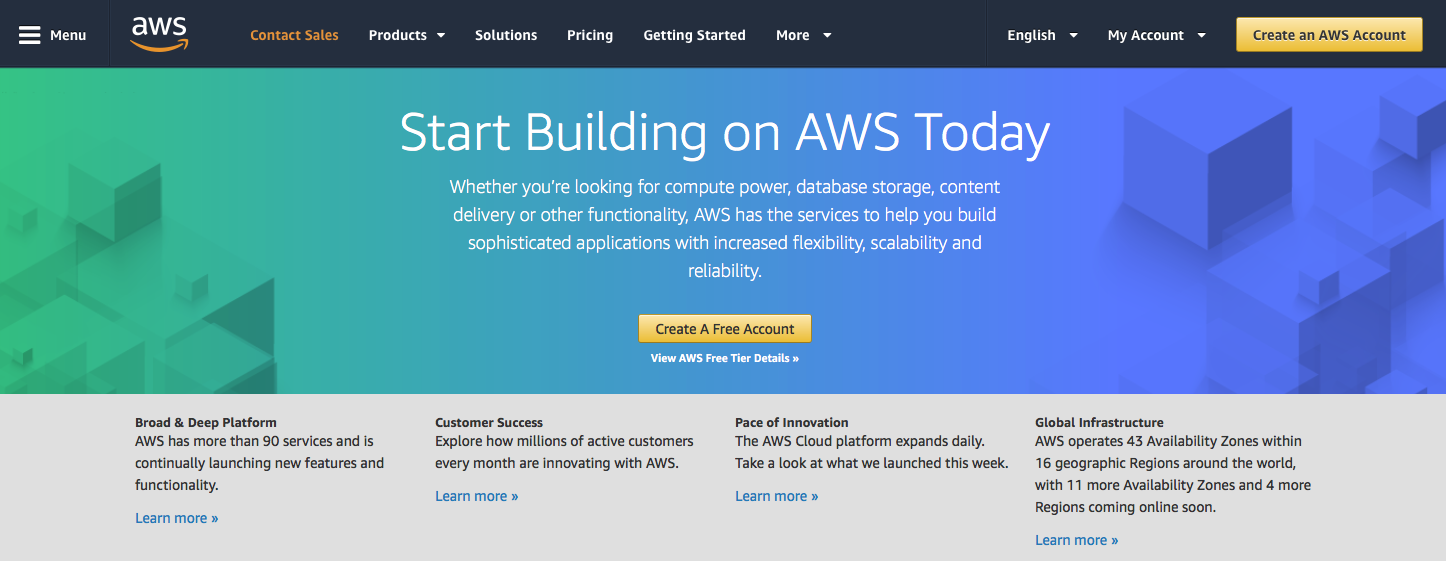
Navigate to the Amazon Web Services website.
Then, click Create an AWS Account in the top-right corner. The Create an AWS Account page will appear.
- If you previously started, but did not finish, the account creation process, the interface will display Complete Sign Up instead. Click Complete Sign Up to proceed to your most-recent step in the creation process.
- If you have already created an AWS account, the interface will display Sign in to the Console instead. Click Sign in to the Console and then proceed to your desired task.
Enter account information
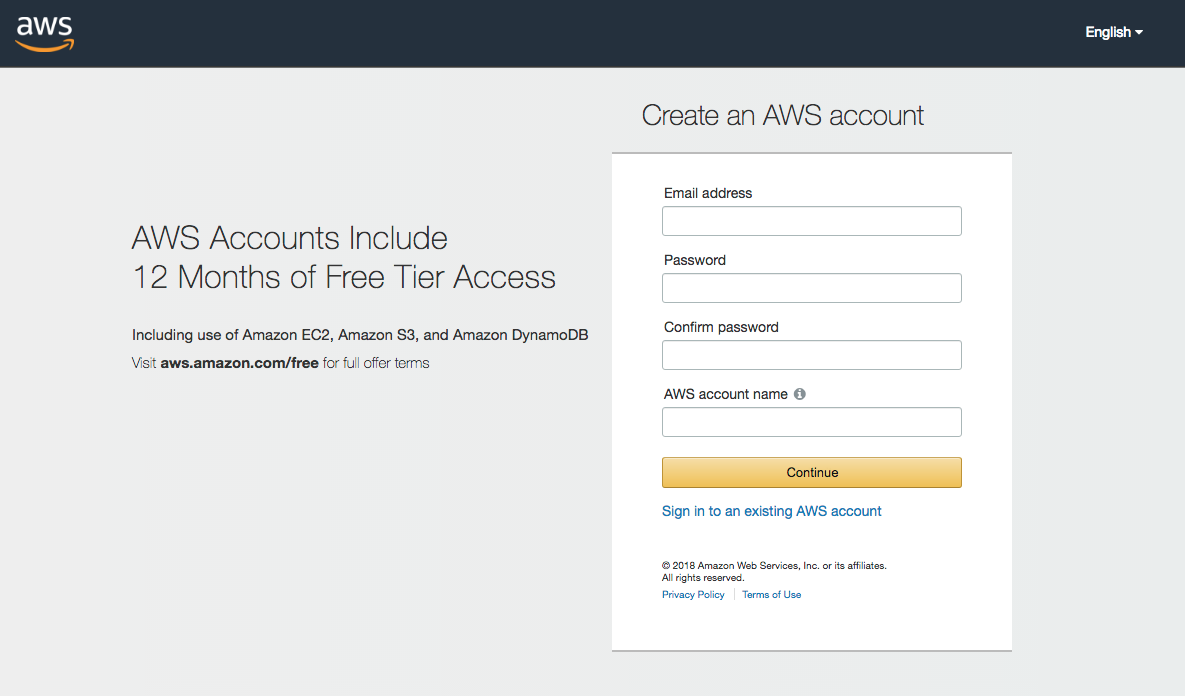
Enter your desired email address, enter and confirm your desired password, and then enter an account name.
Then, click Continue. The Contact Information page will appear.
Enter contact information
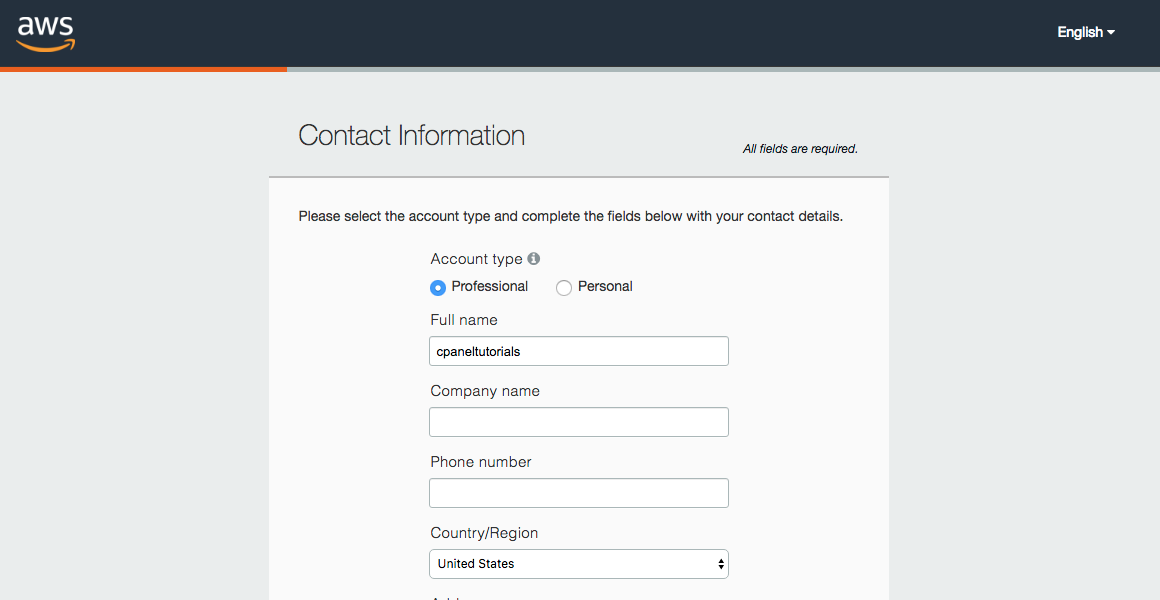
First, select whether you wish to create a personal or business account. These account types provide identical functionality.
- If you select Professional, the system requires you to enter a company name in the Company name text box.
- If you select Personal, the system removes that text box.
Then, enter your contact information in the available text boxes, select the AWS Customer Agreement, and click Create Account and Continue. The Payment Information page will appear.
Enter payment information
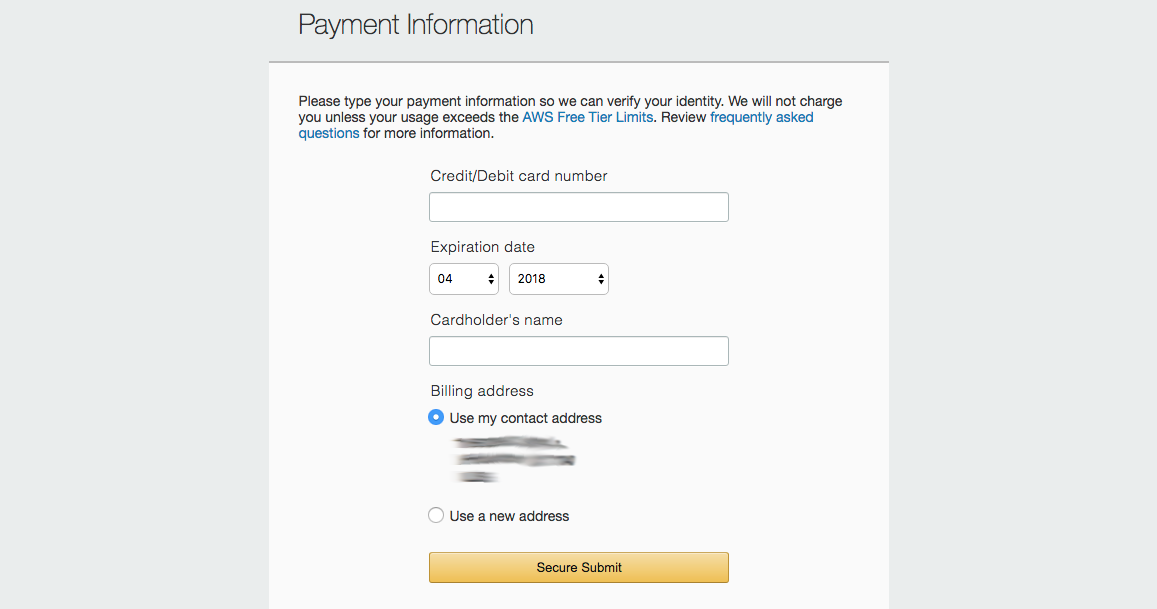
Enter your credit or debit card information in the available text boxes. Then, click Secure Submit. The Phone Verification page will appear.
- Amazon requires a credit or debit card on file before you can finish the account creation process.
- To view additional information about AWS billing and payments, click frequently asked questions.
- For more information about AWS billing, read Amazon’s AWS Pricing documentation.
Verify your identity
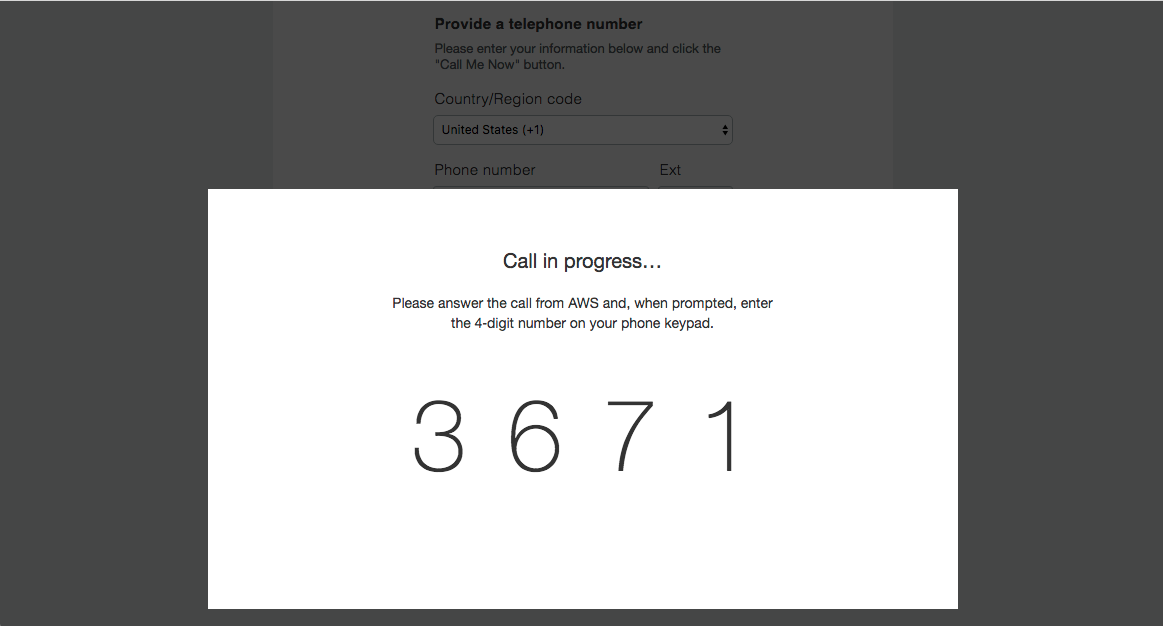
Amazon must verify your identity before you finish account creation. This verification prevents fraudulent accounts.
To verify your identity, perform the following steps:
- Enter your telephone information in the Country/Region code, Phone number, and Ext text boxes.
- In the Security Check text box, enter the displayed characters.
- Click Call Me Now. The Call in progress… section will appear, and you will immediately receive an automated phonecall from Amazon.
- On your phone’s keypad, enter the four-digit pin number that the page displays. A confirmation message will appear.
- Click Continue. The Select a Support Plan interface will appear.
Select a support plan and finish account creation
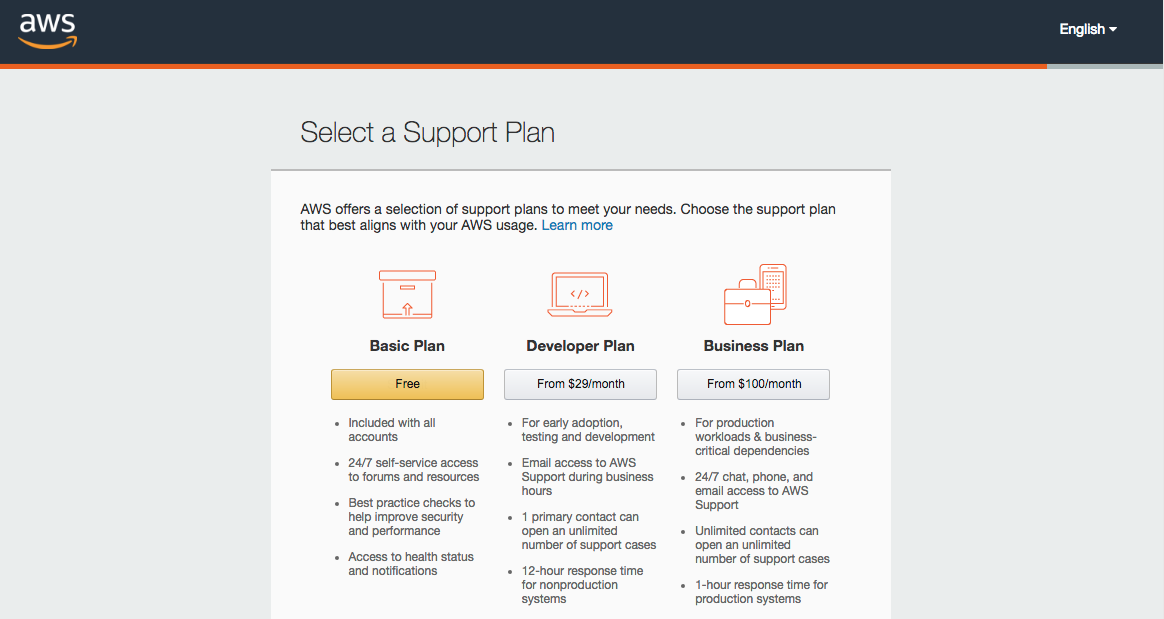
The support plan that you choose determines the speed of Technical Support responses, billing and account support, and other advanced services.
Click the desired support plan for your account. The Welcome to Amazon Web Services page will appear.
- For complete descriptions of the available support plans, read Amazon’s AWS Support – Compare all support plans documentation.
- On the Welcome to Amazon Web Services page, click Sign In to the Console to manage AWS’s services on your account.
